Registration Steps
Registration Steps for Ēzidash
This document provides a step-by-step guide on how to register for Ēzidash, including navigating the website, entering personal details, and completing the setup process.
1. In this tutorial, we're going to show you how to register for Ēzidash. First, go to www.ezidash.com.
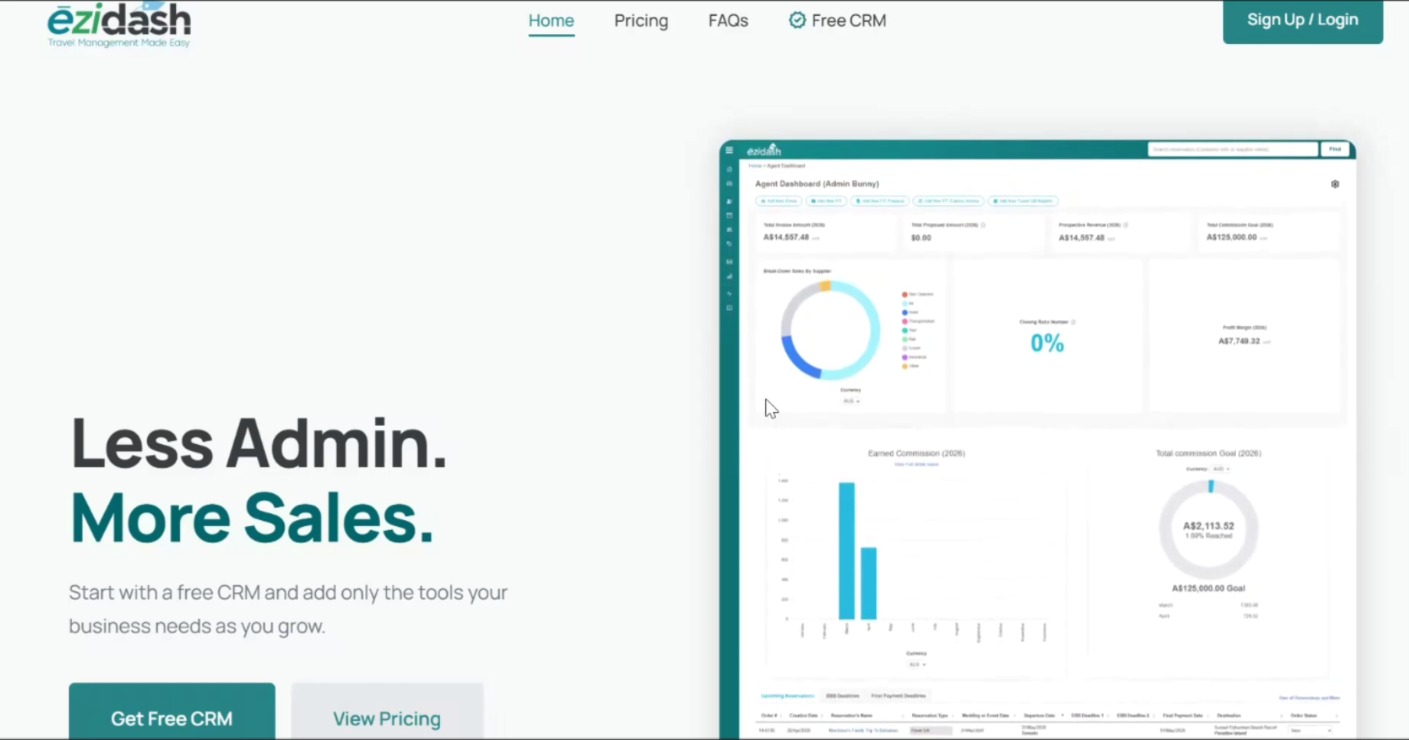
2. This will take you to the main webpage. At the top right-hand corner, click on the button Sign Up/Login.
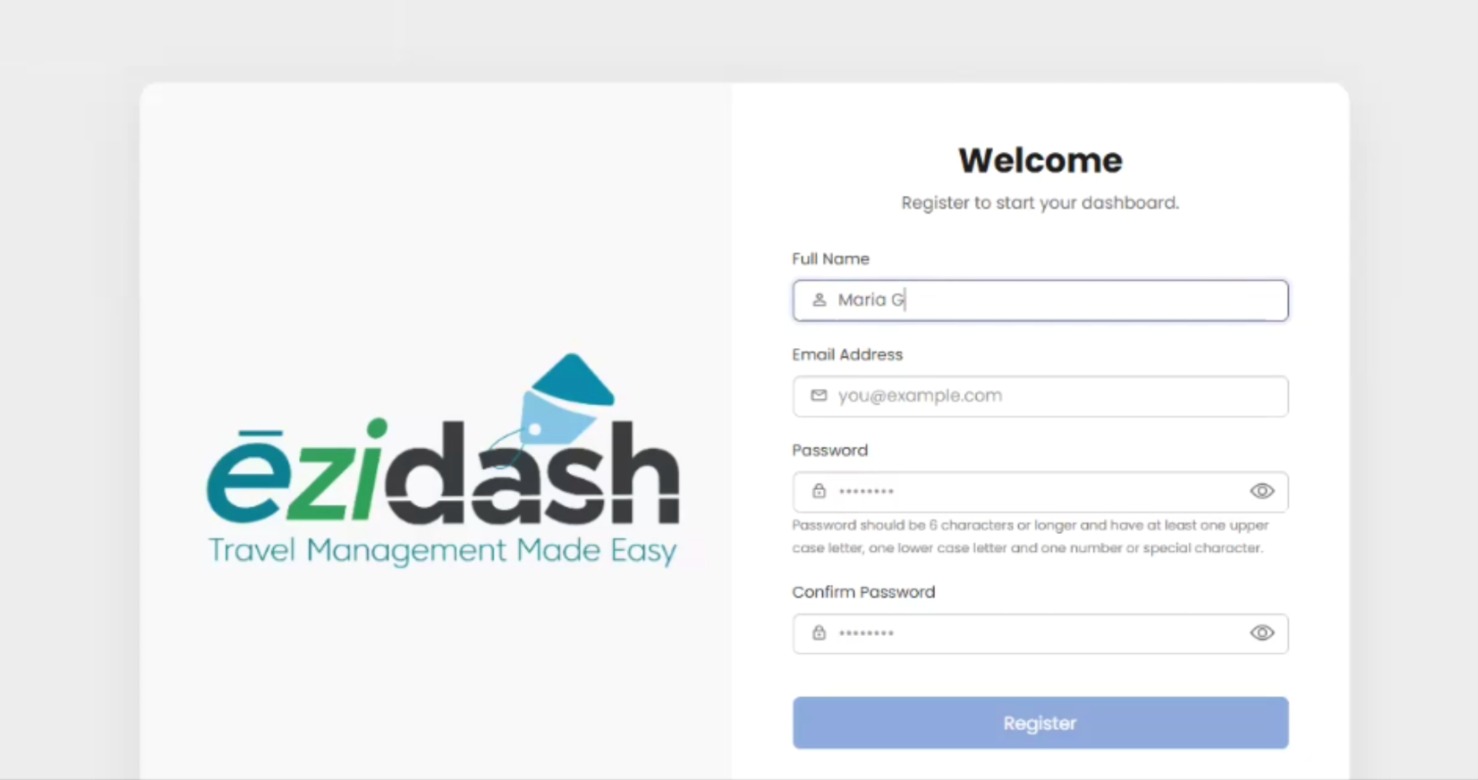
3. Enter your details, including full name, email address, and password.
4. You will be emailed a verification number. Please enter that code and verify your email.
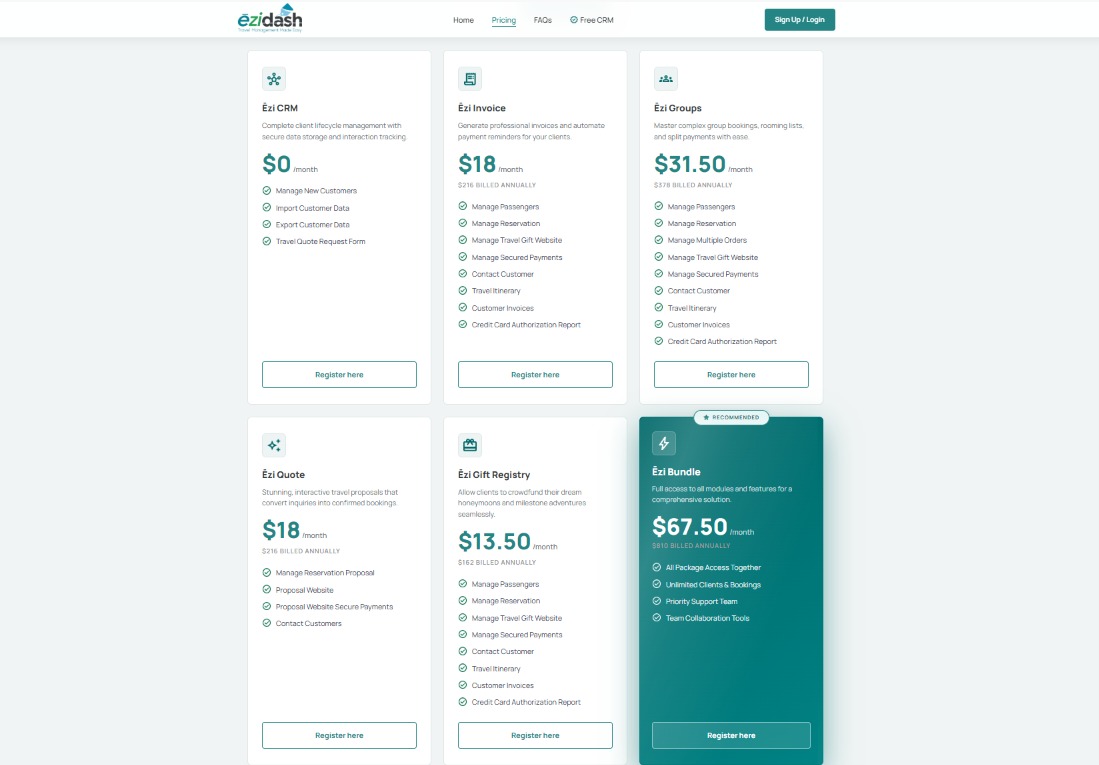
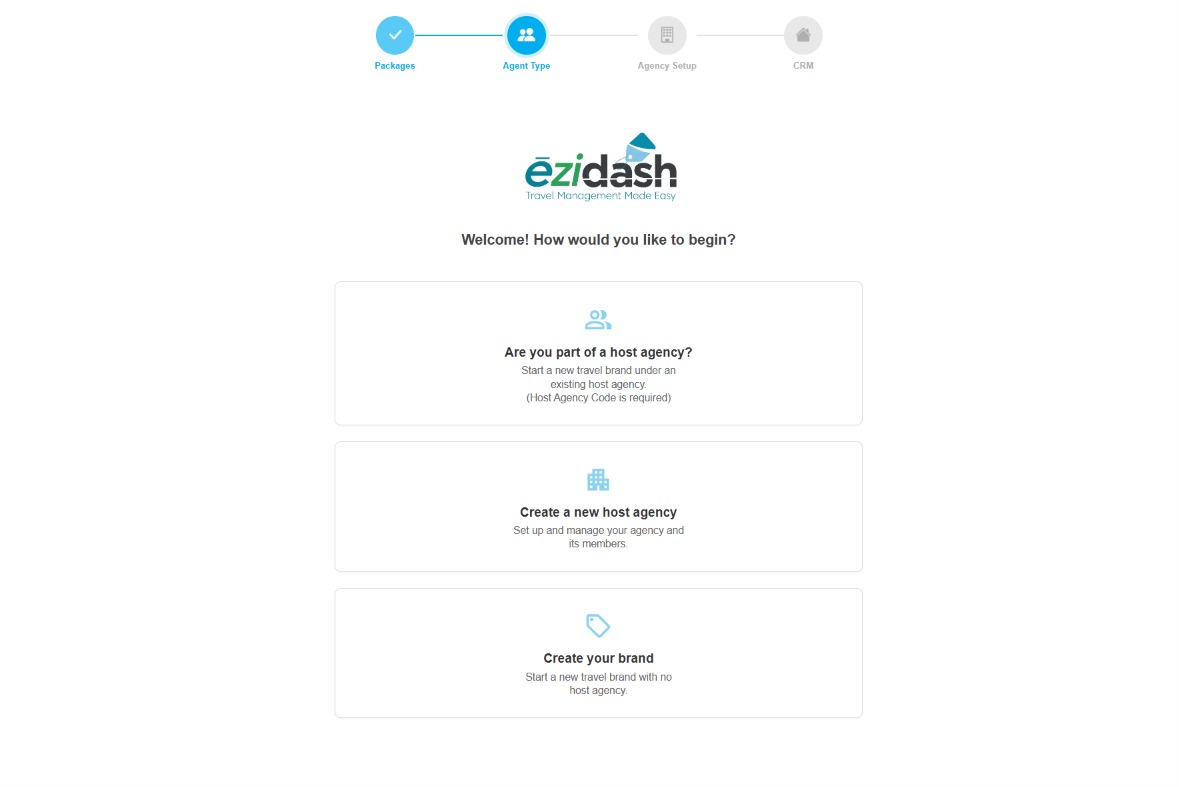
5. You will be guided through the 4 step set-up process including selecting your package, your agent type, agency set-up which will open to your CRM account. Step one takes you to the A La Carte service page. You can choose monthly or the annual plan to save ten percent. The Ēzi CRM is forever free and is included in all plans. Then simply add any of the other features that match your business needs from Ēzi Invoice, Ēzi Group, Ēzi Quote, Ēzi Gift Registry or Ēzi Bundle for all of the features. Let's start for free.
6. This will now take you to the second step of setting up your agent type. Are you part of a host agency? Do you want to create a new host agency or create your own branded travel agency?
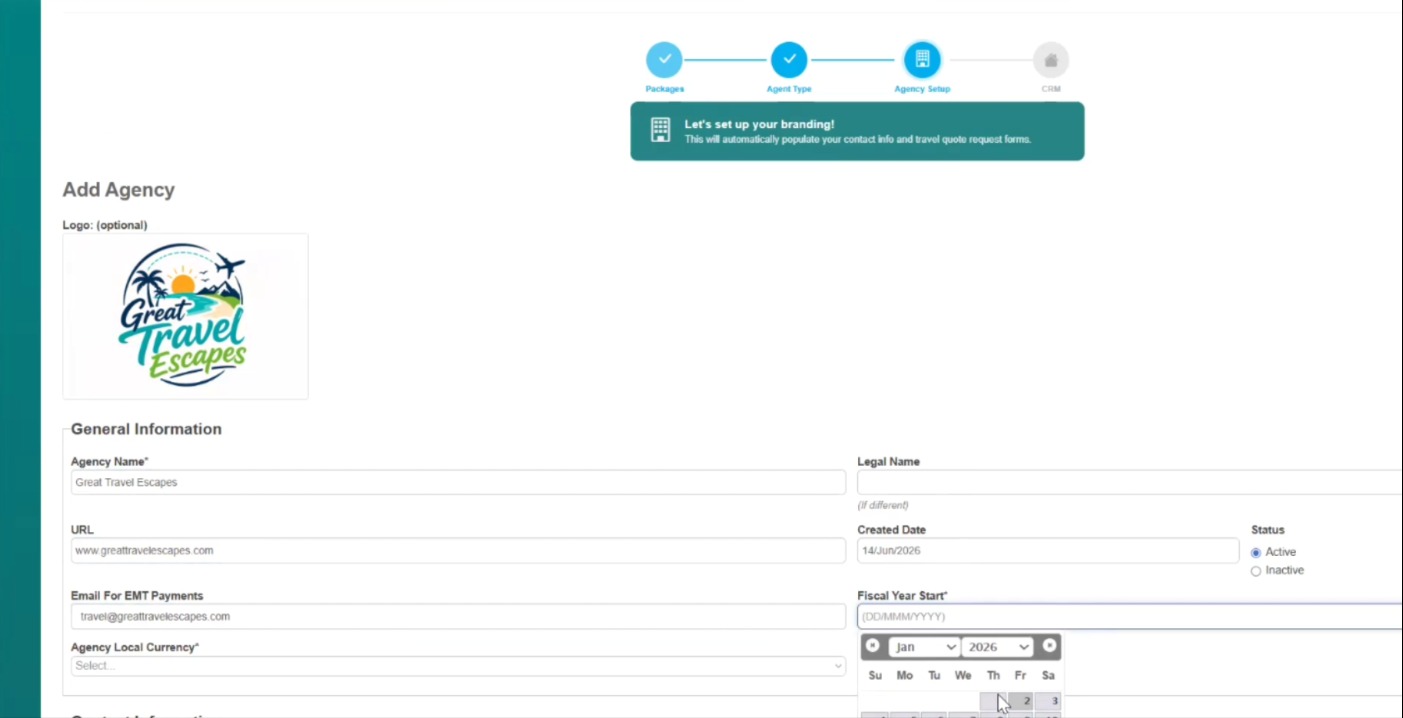
7. Add your agency details is step number three. This will include your agency name, logo, URL, email address for email money payment if required, your fiscal year start for your reports, your local currency and your contact information for the agency.
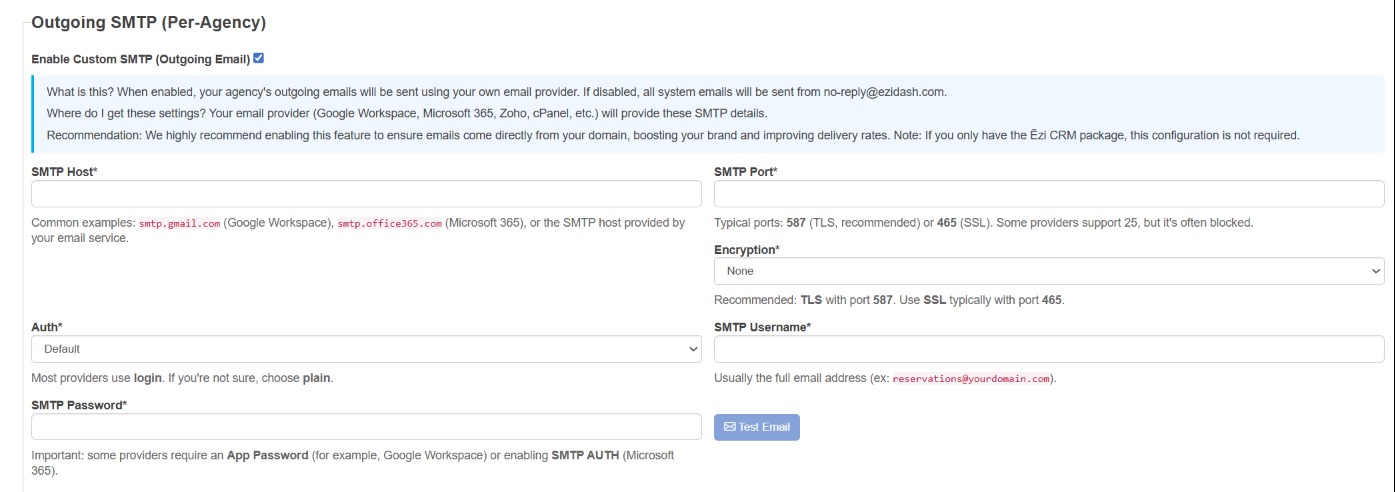
8. Now, to set up your own outgoing SMTP email, you would check off this box and enter in the details as provided by your email host server including all the SMTP credentials, password, username. If you do not enter in this information, all emails will be sent via no-reply@ezidash.com so clients and suppliers will not be able to reply back to you so this set-up is highly recommended. You can always test the email as well.
9. Then add your own agency terms and conditions and click Create.

10. Congratulations, you have successfully set up your agency account. We’ll see you in the next lesson.